One of my sewing/quilting goals for the year was to make 3 garments, and finishing this quilt coat this fall allowed me to check that item off my list. It was definitely the most complicated garment I've ever made -- and the first time I've made buttonholes, too (not sure what I was so worried about with those). So how did I get to this finished coat?
Earlier this year, a member of my local quilt guild came to a meeting wearing a quilt coat she had recently finished. Everyone was appropriately impressed, and there was some interest in turning quilt coats into a guild program. After some discussion, we scheduled a day retreat in September where members who wanted to make themselves a quilt coat could bring their pattern and textile and sew in community -- no formal instruction, just support and encouragement to actual make the thing instead of just think about it forever.
For my coat, I chose the Patchwork & Poodles Patchwork Chore Coat pattern. Designer Eliane has created a comfortable, boxy coat pattern that I thought would be a nice casual addition to my wardrobe and a good weight for fall in East Tennessee. You can see all of her iterations here. I didn't want anything too wild for my first coat (because I might hesitate to wear something really bold, and after all the work of making it, I didn't want it to hang in the closet forever), so I decided to combine a solid body with a pieced back. Pretty quickly, I landed on Essex yarn-dyed linen in black for the body because it would be a little heavier weight than quilting cotton, neutral and easy to pair with piecing. For the back, I chose the foundation paper-pieced pattern Twinkle by Amy Friend from the book Scraps, Inc. The blocks finish at 6 inches, and I thought that scale would be a good fit for the back of my coat.


With the body fabric and piecing design in place, I pulled a few different combinations of fabrics for the back. I ended up choosing the orchid purple/pink colorway because it would complement the piecing design and be colorful without being too wild (for me).


I turned out that I had a lot more fabric in this color than I would have guessed. After I pulled it all out (more than is pictured above), I only added one more to the mix, which I ordered along with my lining fabric. I love foundation paper piecing because it's methodical and produces precise results, and I love Amy's block pattern because she does all the work of telling you what size fabric to cut for each piece in the pattern. It saves so much time and error when all the pieces are already cut to fit.

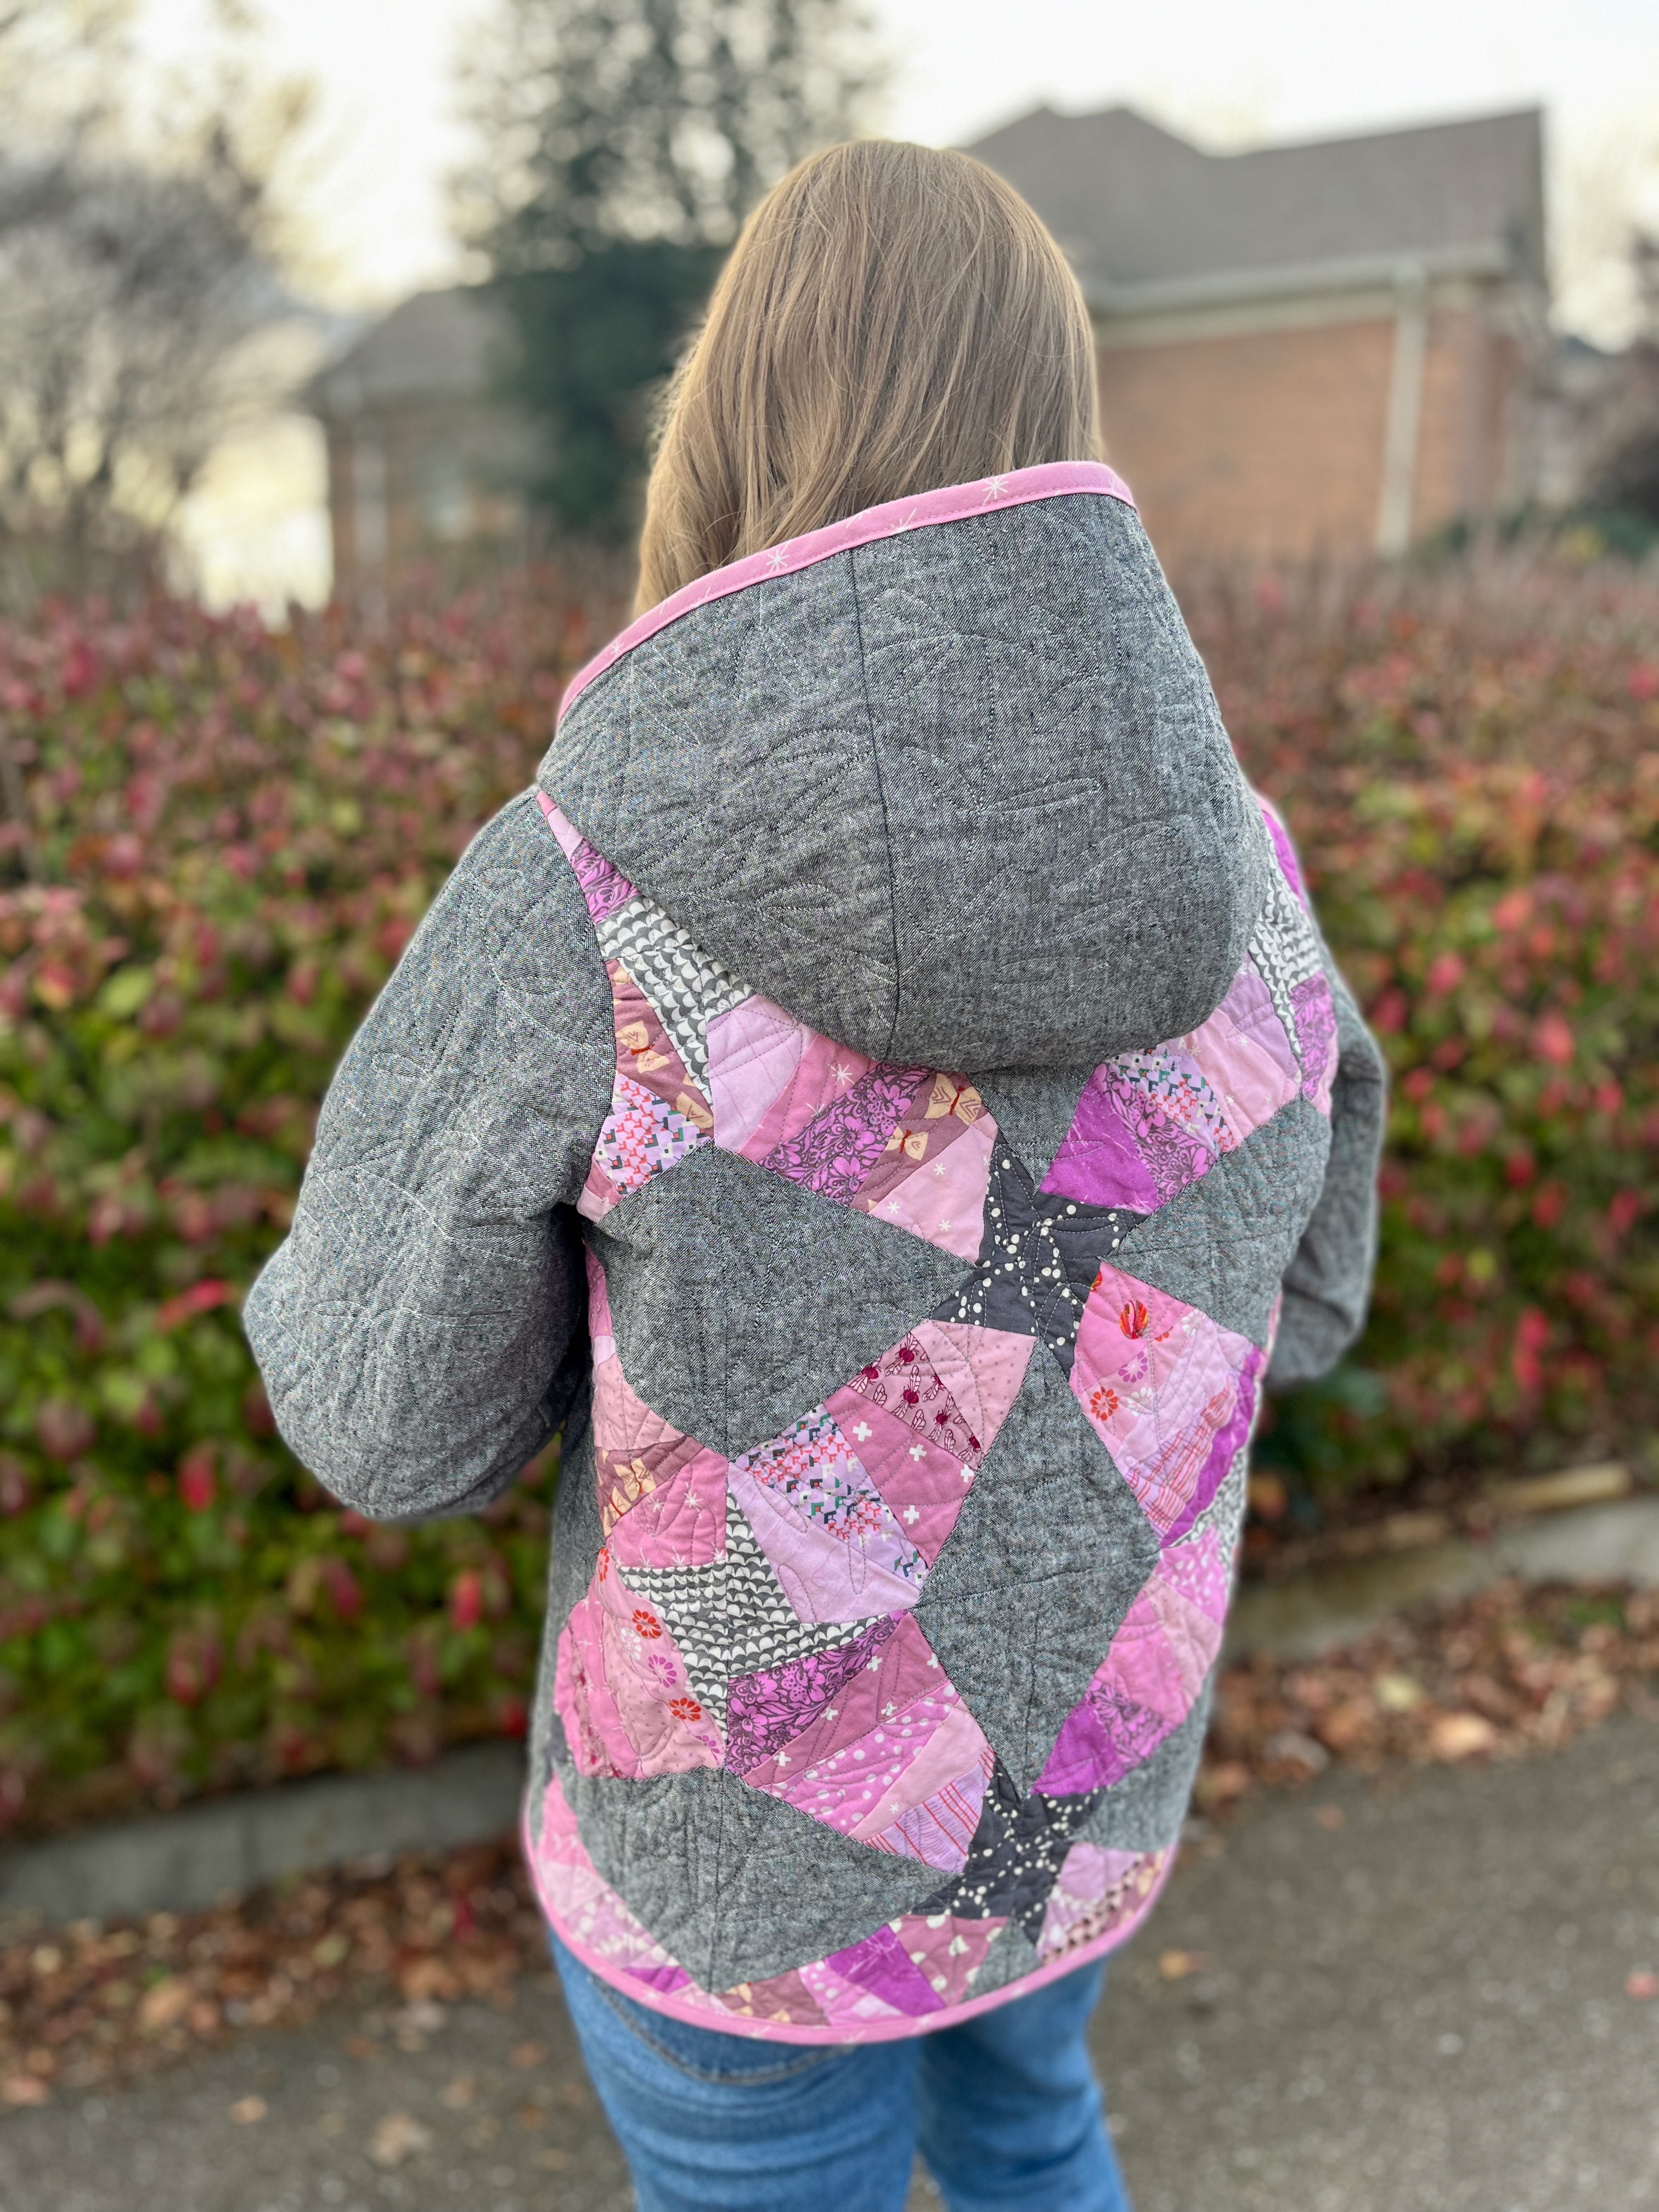
I chose dark and light gray prints for the stars/points where the blocks meet up. I pieced 25 blocks for a 5 x 5 layout, producing a panel big enough to cut out the coat back pattern piece. Even though my panel was not centered, there was enough room to center the pattern piece on it, which was a welcome surprise.

I outsourced the quilting to a local longarmer to make things quick and stress-free. I gave her essentially a mini quilt (the pieced back with floral lining) and a whole-cloth quilt (the yarn-dyed linen with floral lining). She used medium gray thread and a pantograph called Rosemary that I had seen on Instagram and loved. The delicate design looks random but has good coverage without being too dense or too loose. After I got the quilted pieces back, I washed and dried them to allow for shrinkage and then laid out the pattern pieces to make a plan before cutting. I had some seams that I wanted to avoid, so I had to be strategic.

At the retreat, I began piecing and binding my coat. I sewed the binding on by machine but then finished it by hand, so that took more time than actually assembling the coat. It definitely wasn't fun sewing some of that binding over thick seams in awkward places, but it's worth it in the end to have clean, finished seams throughout.


After the sleeves were on and bound and the front edge was bound as well, all that was left to do was add closures. I considered toggles but found some buttons that I liked, but I've never made buttonholes, and the thought of doing so on this coat -- after all the work that had gone into it -- made me nervous. So I wore it around for about a month, holding it closed, before I decided to just do the buttons already. I figured out how to make the buttonholes on my machine and did a few tests ... and then did a few more to make sure I was happy with thread and placement. I had to unpick one side of one pocket to accommodate the buttonhole (and then sew it back down afterward), but that was the only hiccup in the process. I took a deep breath before cutting the buttonholes open, too, because there's no going back!


My sister, a nonquilter who was skeptical of how a quilt coat would end up looking and how I could possibly make it cool, took these photos for me and has admitted that, yeah, it turned out pretty cool. Will I make another? Maybe. Will it be wild(er)? Possibly.

No comments:
Post a Comment