January 27, 2013

Big Finish: Madrona Road Challenge Quilt


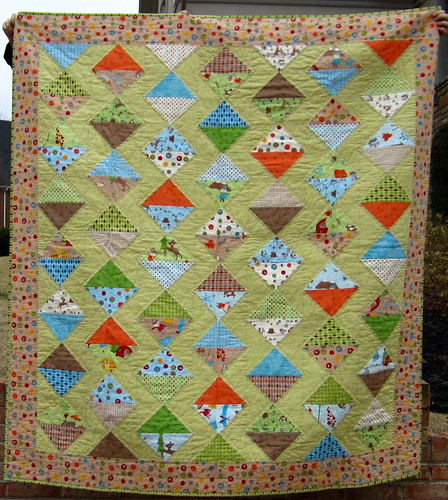
Modern Quilt Guild Madrona Road Challenge


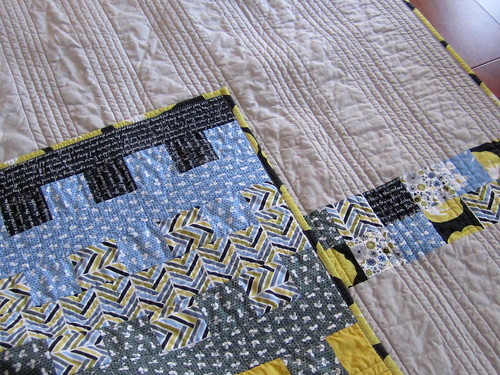
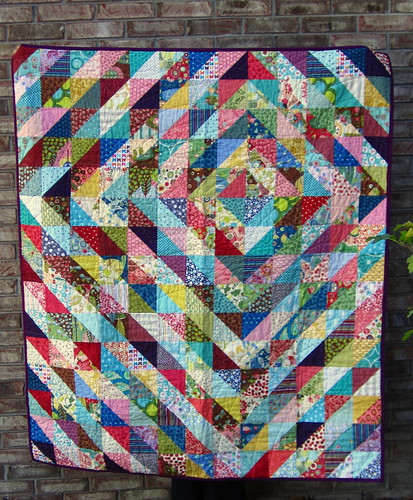
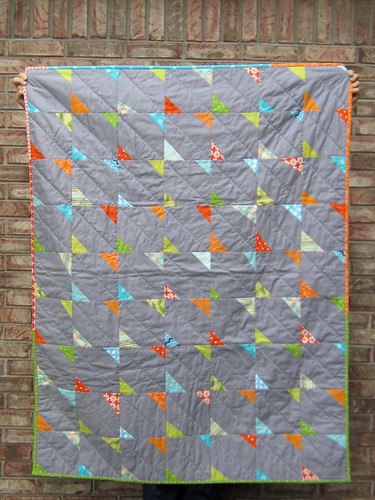
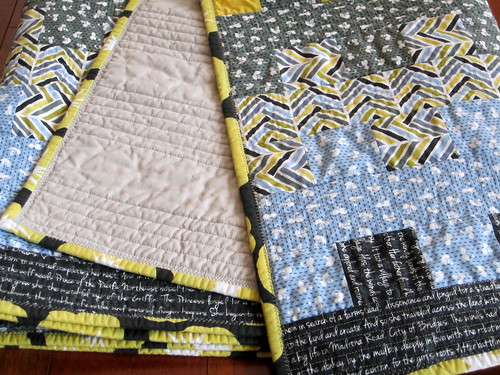
At the December meeting of the Indy Modern Quilt Guild, I snagged a bundle of 6 fat quarters from Violet Craft's Madrona Road line as part of a Modern Quilt Guild challenge sponsored by Michael Miller Fabrics.  The challenge rules were that the quilt or quilted item had to be completed by January 31, and only solids or other fabrics from the Madrona Road line could be added to complete the project.


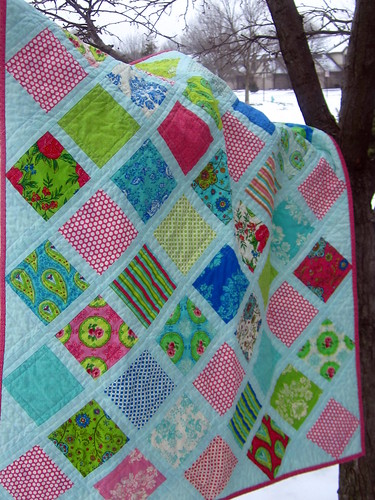
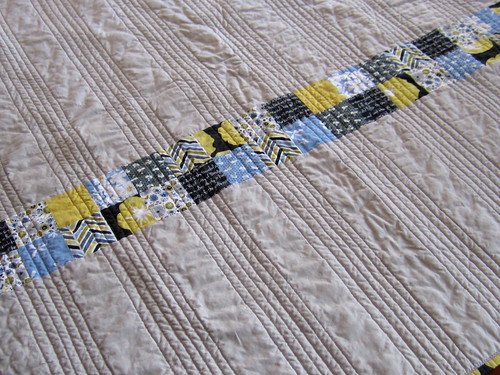
I wanted to get the most out of the fat quarters, so I scrolled Inspire Me Grey's Quilts board on Pinterest to see if any of our favorite designs jumped out at me.  Lo and behold, I rediscovered the Garden Ladder Lap Quilt pattern offered as a free download from Daisy Janie.  The pattern uses 8 fat quarters, and I only got 6 from the challenge, so I supplemented the stack with the small floral prints in blue and grey -- and then I used those prints twice to make the quilt wider.  I used Kona Ash on the back, and I quilted in the solid columns with 1/2 inch straight lines.

Modern Quilt Guild Madrona Road Challenge

Having been torn instead of cut, my fat quarters were a smidge too small for the cutting requirements of the pattern, which meant that I had to order some additional fabric (from Hawthorne Threads, a favorite online fabric shop).  And that meant I had enough for the binding and for an accent panel on the back.  Plus I have more fabric left to use in other projects, so in the end it wasn't so terrible to have to buy more fabric.  The finished size is approximately 46 x 49 inches.
Modern Quilt Guild Madrona Road Challenge


Modern Quilt Guild Madrona Road Challenge

I'm really pleased with how this quilt turned out, and I'm thrilled that I was able to finish it so quickly.  I started cutting fabric on December 23 and finished the binding on January 24, so from start to finish it was just a hair over a month!  I plan on keeping this one in the family, and I'm sure it will be well-loved in its new home.  (Okay family, start guessing who's getting this quilt!)
 
(I love a good binding roll.)


January 26, 2013

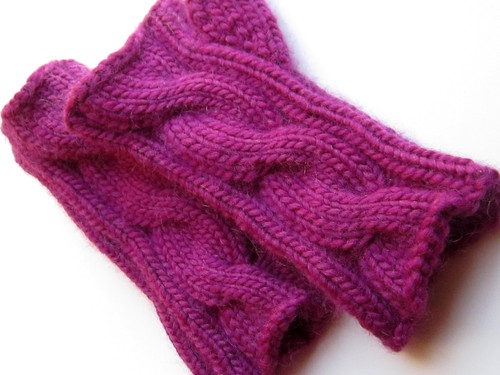
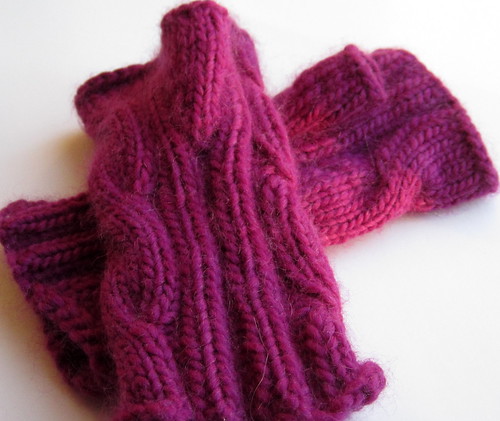
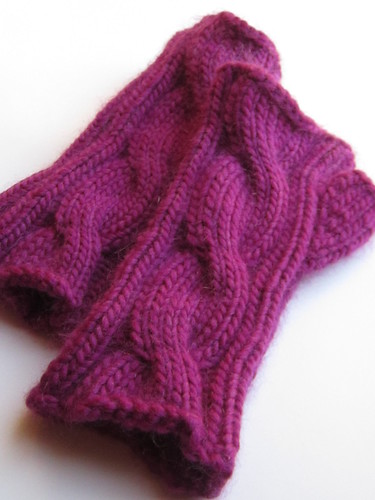
Cabled Fingerless Mitts

Cabled fingerless mitts


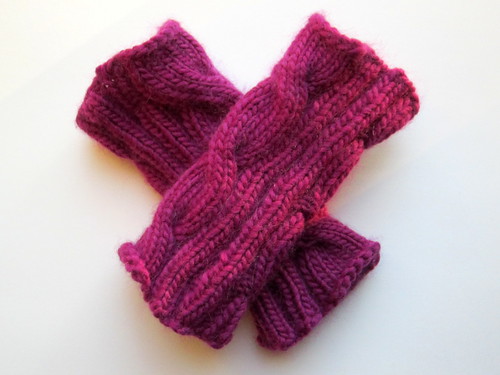
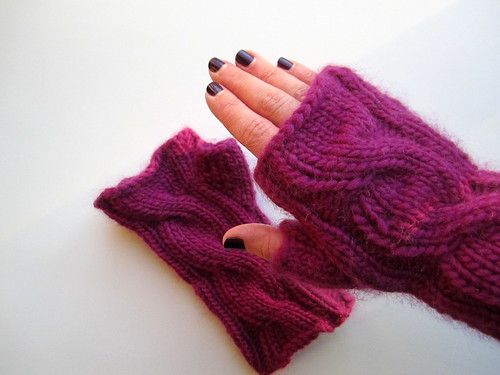
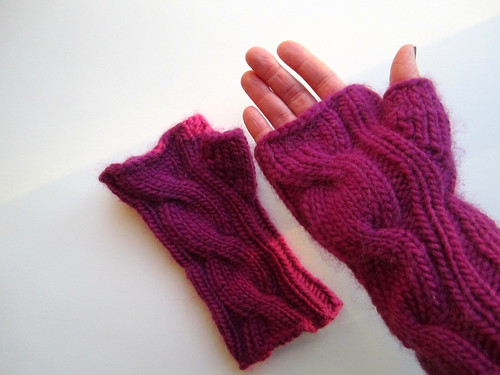
I'm really proud of these raspberry-colored fingerless mitts that I knit up over my Christmas vacation.  Back in November, I was shopping for yarn for a Honey Cowl at my local yarn shop, Knit Stop, when I spotted one of these mitts on display.  It had a tag on it with the pattern name, and when I slipped it on, I immediately knew I had to make a pair for myself.  I left the shop with yarn for my cowl and a plan to return before Christmas to get the yarn and pattern for the mitts.  I knew I'd have time over the break to work on some knitting for myself, but until then I still had gifts to finish making.

Cabled fingerless mitts

Cabled fingerless mitts

The yarn is Classic Elite Yarns Ariosa in color Azalea.  It's a merino/cashmere blend, and it's so plush and soft.  The mitt I tried on in the store was a lovely pale grey, but the color selection was limited when I went to make my purchase, so I opted for this raspberry/azalea color.  I firmly believe the universe is encouraging me to make this "my color," because I seem to have acquired a lot of it without really thinking -- dresses, shirts, scarves, sweaters, etc.

Cabled fingerless mitts

I've never knit cables before, and it's one of those things that, no matter how many times people said "It's so much easier than it looks! Really!" I just never believed them.  Well, it turns out knitting cables actually is much easier than it looks.  I started knitting the mitts with my mom nearby for assistance if the cables really did trip me up, and other than asking her to confirm that I was reading the pattern correctly, I'm happy to say that at no point did I utter the phrase, "Mom, can you fix this for me?"  Plus, I managed to complete the pair in 2 days.

Cabled fingerless mitts

I love these mitts.  The warmth of the palm and wrist make up for chilly fingertips.  And frankly, I don't care that my fingers are cold when these mitts look so fantastic!  I picked up some emerald green yarn on sale at my mom's local yarn haunt The Yarn Haven in Knoxville, TN, and I'm planning to start another pair soon.

Cabled fingerless mitts

January 22, 2013

Big Finish: Fox Trails Quilt

Geese in the Park, front

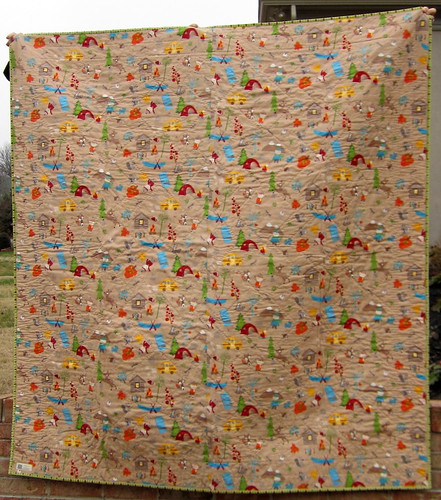
This is the Fox Trails quilt that I worked on off and on for most of 2012.  (I don't know what I was thinking -- I forgot to take more close-up photos of this one before it went to its new home.)  This project started with the pattern, Geese in the Park by Freckled Whimsy on the Moda Bake Shop website.  I liked the simple design of diamonds offset by solid chevrons, and it seemed like a good pattern to highlight a print fabric collection.

Flying geese in progress
This pattern and the fabric, Fox Trails by Riley Blake, came together when I found the precut 10-inch squares on sale from Green Fairy Quilts.  I bought 2 stacks in order to have enough squares for the top (Riley Blake stacks have fewer squares than Moda layer cakes, fyi) and immediately started making this quilt for my good friend Anne and her family.  She and her husband and 3 boys love the outdoors and adventures of all sorts, so I knew this camping theme featuring lots of little boys would be the perfect fit for them.

Geese in the Park, back
 
This is the back of the quilt.  My selections for border, binding, and backing were made for me thanks to some online sales.  I eliminated the narrow inner border from the quilt pattern and just put a single, wide border on.  I like how the brown border sets off the green and other colors on the front, and it all blends so nicely with the brown background featuring the large camping print -- complete with marshmallows toasting over a campfire.
 
I couldn't decide how to quilt this one on my machine, so I opted for handquilting with perle cotton thread.  My first few quilts were all handquilted, but I forgot how long it takes (and how sore my fingers get)!  I quilted along the insides of the green chevrons and added 2 rows of straight line quilting in the border to secure it.  After washing and drying, the quilt didn't crinkle up as much as it would if I'd used machine quilting, but it still has texture -- and a handmade look and feel. 

Max supervises the photo shoot
I delivered this quilt in person to Anne over Christmas and her oldest boy took an immediate liking to it, trying to bundle himself up in it while we were attempting to take pictures.  He also identified the little campers as himself -- maybe in time he'll decide that some of the campers represent his brothers too.

January 6, 2013

Big Finish: Value Quilt

Value Quilt, front

This value quilt is one of my favorite finishes of 2012.  I made it for my niece Hannah because I felt like her Dog Cabins Quilt was a bit boyish.  (I started the dog blocks when we assumed the adoption process would result in a boy joining the family -- then we found out we'd be welcoming a girl.)  I wanted to make her something bright and girly, and the value quilts by Katie of Sew Katie Did really caught my attention.

Katie has provided a basic tutorial on sorting fabric according to value.  With that info and a hefty stack of 5-inch squares, I got to work pairing up the fabrics by color value and making half square triangles.  I ended up with a few headaches from squinting at the fabrics to determine value comparisons when they weren't obvious, but after I had the HSTs up on my design wall, I could step back and play with the placement for the best light-dark effect.

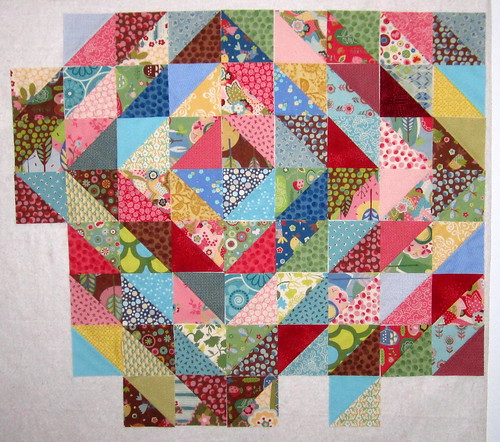
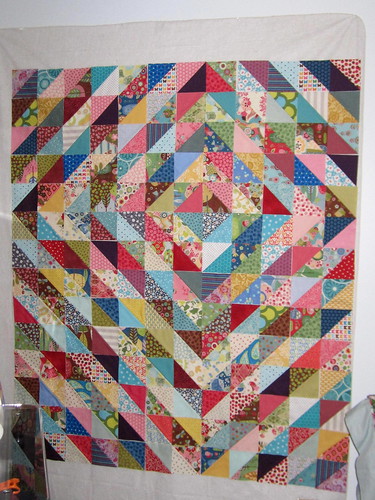
Here are a couple of photos of the quilt in progress on my design wall.  You can see the light vs. dark layout starting to take shape.  (The color is a bit off due to the lighting.)

Value quilt in progress

Value quilt in progress


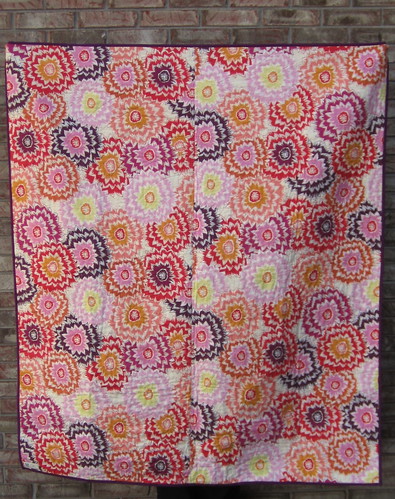
With so many colors and patterns on the front of the quilt, I wanted a big print for the back.  I found this bold dahlia print (I think that's the flower) at Joann's, and I love that it's so colorful and fun.  On the quilt front, I tried to emphasize the pinks and purples, so this fabric was a good fit for the back.

Value Quilt, back
 
 
I enjoyed the process of making this value quilt, and I can certainly see myself making another one at some point.  It's such a great way to use up scraps (as long as they're big enough) and create a lot of visual interest.  Sew Katie Did shows a few different layout possibilities, so maybe next time I'll play with that aspect.

January 1, 2013

Quilt Recap 2012

January 1 seems as good a time as any to review the quilts (and a couple of quilted items) that I completed in 2012.  The final tally is 7 quilts, 3 pillows, and 1 mini quilt.  There are a couple here that I will be posting about soon.

Summer House Baby Quilt

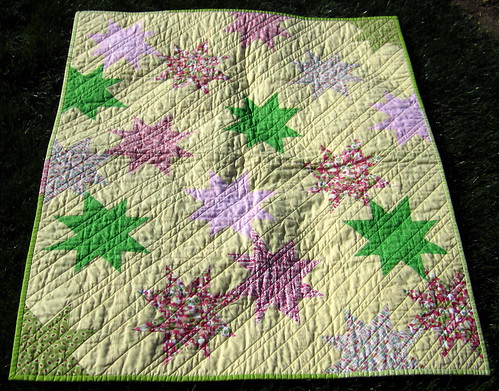
Wonky Star baby quilt
Wonky Stars Baby Quilt

  
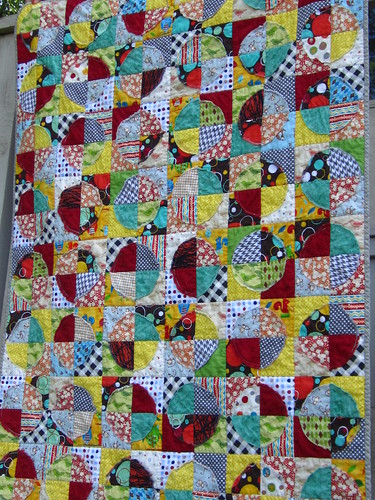
Raw Edge Circle Quilt

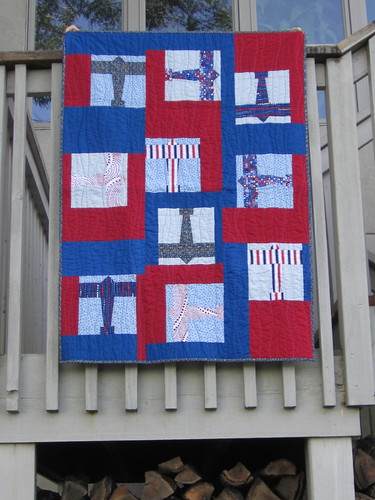
Airplane quilt
Airplane Baby Quilt

Baby Boy Quilt: Little Bow Ties with Grey
Little Bow Ties Baby Quilt
 
Friendship Braid Pillow

Value Quilt, front
Value Quilt

Geese in the Park, front
Fox Trails Quilt

Embroidered Pillows
Embroidered Monogram Pillows

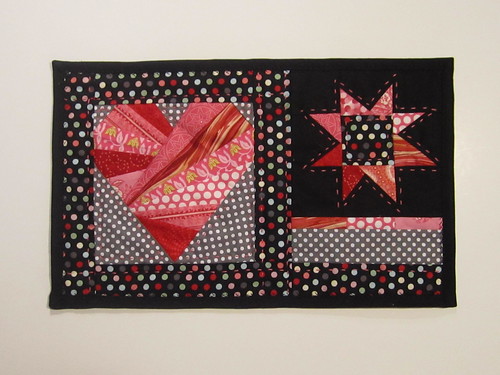
Valentine's Mini Quilt

December 27, 2012

Big Finish: Embroidered Monogram Pillows

Embroidered Pillows

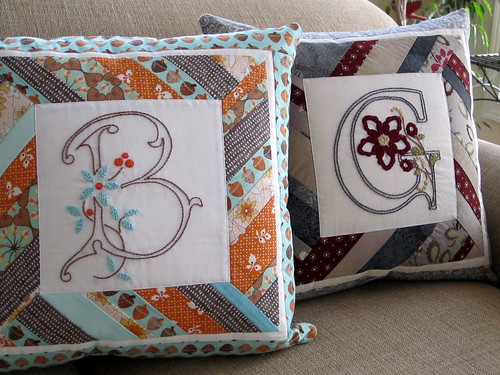
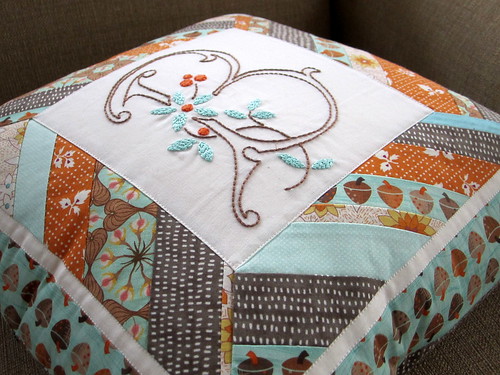
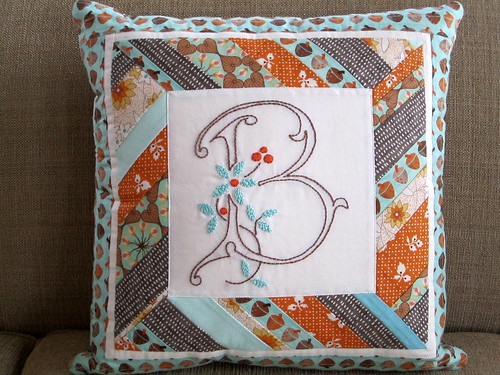
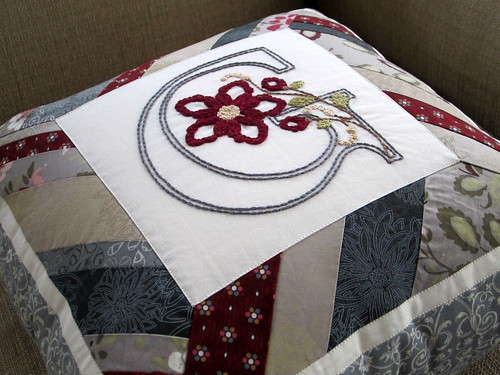
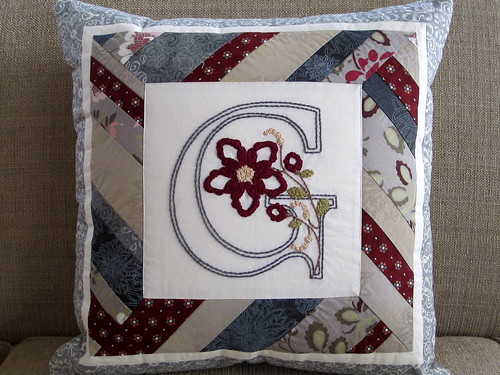
Now that Christmas has passed and gifts have been given and received, I'm happy to be able to share these embroidered pillows that I made for my two sisters. The letters B and G are for their last names.

Embroidered B Pillow

This project started with the B embroidery. I found the font pattern here, in the collection of flowered monograms from a vintage embroidery book, La Broderie Blanche, 1912.  I chose everything in this pillow to coordinate with the acorn fabric.

Embroidered B Pillow

After I finished the embroidery panel, I considered a few different designs to frame it.  I settled on this Sun Rays block design from Twin Fibers (tutorial here).  I love the look of the mitered corners, and the strips allowed me to incorporate a lot of different fabrics to coordinate with the acorns.  The back of the pillow is done in the brown with white hash marks.

Embroidered G Pillow

As I was working on the B embroidery, I decided to make another pillow with a G for my other sister. I decided to use a different monogram design (found here) and a different color palette.  I tried to just figure out the hand embroidery as I went along, and this design required a lot of fill stitches.

Embroidered G Pillow

The fabrics in the surrounding Sun Rays block are almost all from a scrap pack that I received from Art Gallery Fabrics after I responded to a post about the giveaway on Facebook.  Lucky me!  The back of the pillow is the same grey scroll print that's just visible on the outer border.  For both pillows, I used this tutorial for adding a zipper with a flap to conceal it on the back.

December 18, 2012

Great Hostess Gift: DIY Mistletoe


Luckily for us, Hannah from Secrets of a Belle has been gracious enough to share her how-to for making your own mistletoe.  I don't know about you, but I love a little mistletoe around the house during the holidays, and this one I can hang up year after year which is great! Hannah created this cool felt mistletoe that is great over doorways, hanging on trees, or tied to a loved one's present as a decorative topper.

What you'll need:
Green felt
Pearls
Green thread
Ribbon (and thread to match)
Needle
What You'll Do:
  1. Download and print the pattern off on a sheet of regular letter-size paper, and cut out the shapes.
  2. Lay out the pattern pieces and cut out your felt. (You can also use freezer paper for this step. Trace the shape onto the freezer paper and cut it out with a little extra all the way around, lightly iron the waxy side to your felt, and then cut the pattern and felt at the same time. Peel off the paper to reveal your felt shape.)
  3. Layer your pieces of felt from largest to smallest and stitch them together.
    Two tips: 1.) It helps to leave a little space at the top of the largest piece for attaching your bow and loop later. 2.) I folded the smallest piece over to help hide some of the stitches.
  4. Sew on your pearls as the little mistletoe berries.
  5. Tie your ribbon into a bow and attach just above your pearls. With another piece of ribbon, make a loop to attach to the back for easy hanging.
For more holiday ideas from our favorite belle, Hannah, don't forget to visit her blog Secrets of a Belle.


LinkWithin

Related Posts Plugin for WordPress, Blogger...