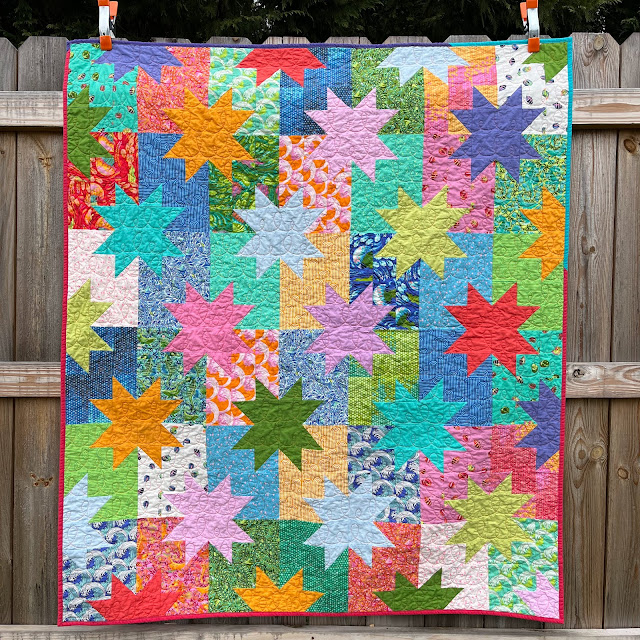
This quilt was an energizing project to work on during the depths of winter -- it gave me summer vibes and brightened my sewing room up considerably. The pattern is from Emily Dennis of Quilty Love (available to purchase here), and I bought it pretty much as soon as it was released because it's layer cake-friendly. (Those are 10-inch precut squares, for anyone who doesn't know.) I have a few layer cakes in my fabric stash, and they can be a little tricky to use because, well, they're 10-inch squares and it doesn't seem like there are a lot of things to do with that. But this pattern proves that you can, in fact, do a lot. (You can see all of Emily's Star Pops here.) I made the throw size, which uses one layer cake.
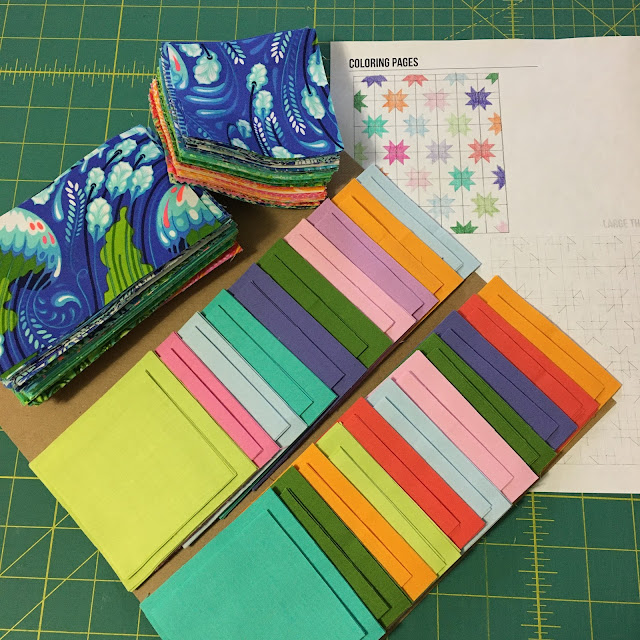
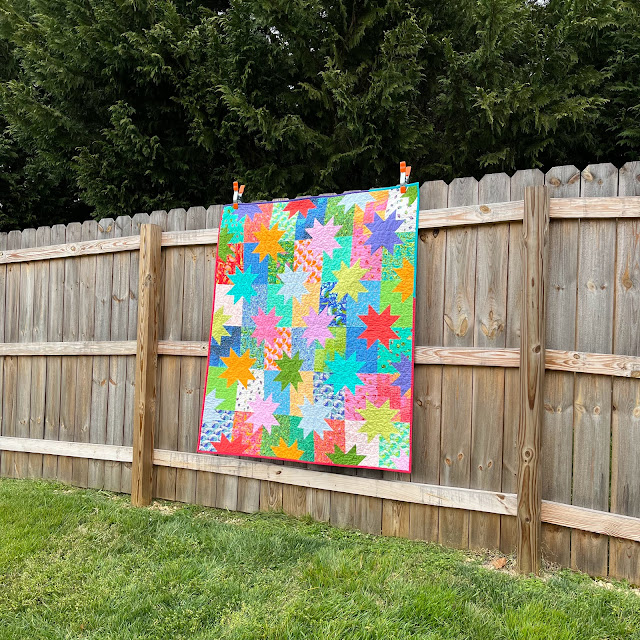
I used a Tula Pink layer cake because I loved all the vibrant colors and prints. When I started this quilt, all the Star Pops I was seeing on Instagram featured one fabric (usually a neutral) in the stars. A few of the Tula Pink prints are on a white background, so I didn't want to put a white star next to those prints and have everything blend together. So I started to consider colored stars, and then I pulled out lots of solid fat quarters in colors that complemented the prints. It was a "use what you have" moment of inspiration, and I'm really happy with the result. And it was more fun and more interesting to sew all the different combinations. I did have to do a little planning, however, to ensure that I paired the solids with the right prints to make the overall pattern work. But that's what the coloring sheets that Emily provides with her pattern are for!
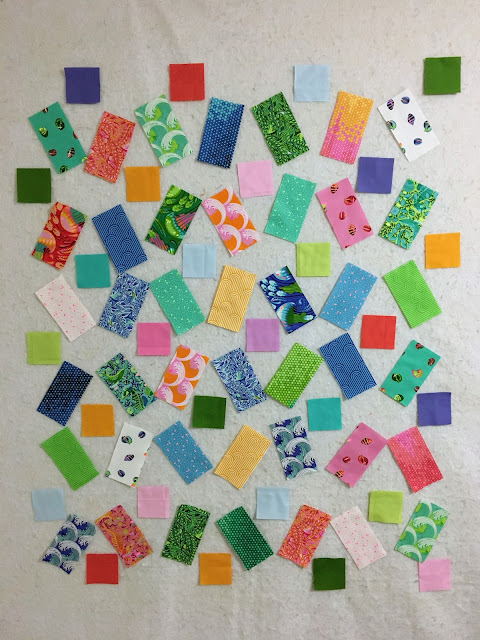
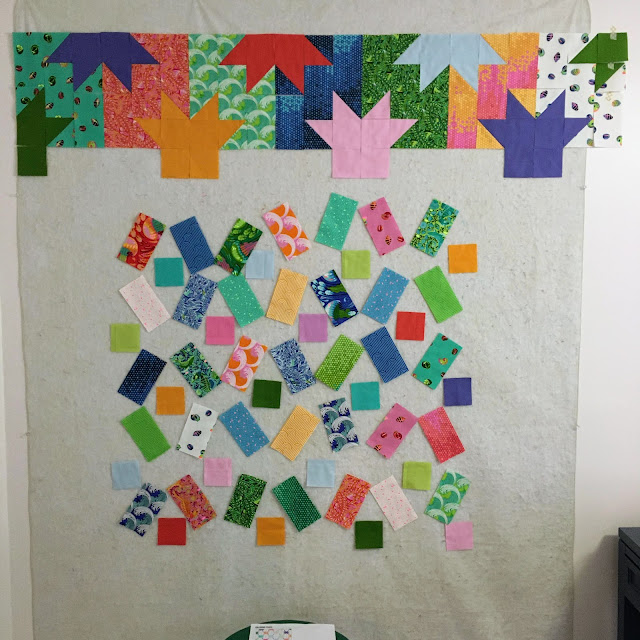
After cutting, I put everything up on my design wall, starting with the solids according to my star map and then filling in the gaps with the prints. It was tricky to position similar prints and colors away from each other, and there are a couple in the finished quilt that I probably would have shifted around, but overall it works.
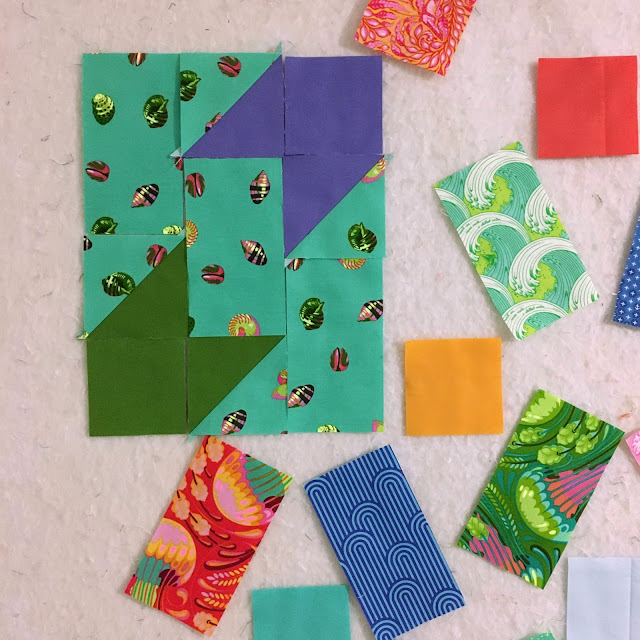
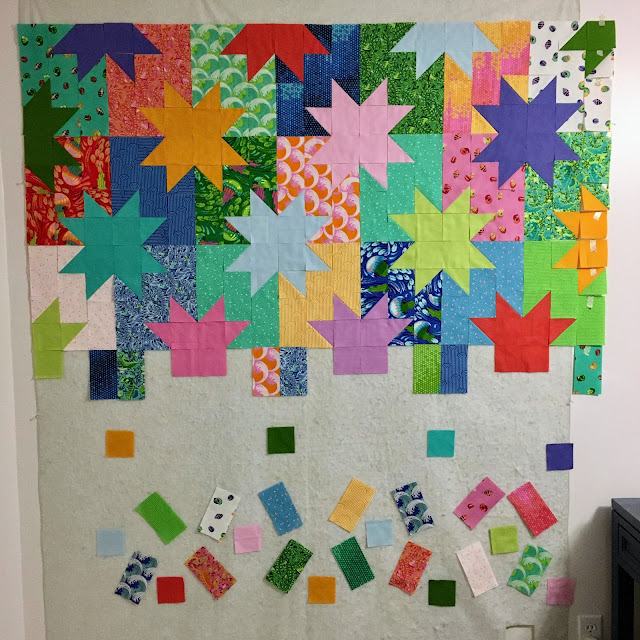
As I sewed the half-square triangles with solids and prints, I was able to start assembling the stars on the blocks on the wall and see how the stars were coming together. This is usually my favorite part of the quilt process.
Another thing I like about this project is that it was very easy to work on in small chunks of time. I could sew some pieces, press HSTs or assemble a block or two and then walk away and come back to it later. So it's a good one if you have a day job and want to sew a little to relax in the evening but can't handle getting fully immersed every time.
Pretty soon I had a finished quilt top, and I decided to stick with the theme of bright colors and use my solids stash to make a pieced backing. I don't often love how my pieced backings turn out (sometimes there's just something not right about them), but I didn't overthink this one. And it turned out great. Maybe that's the lesson!

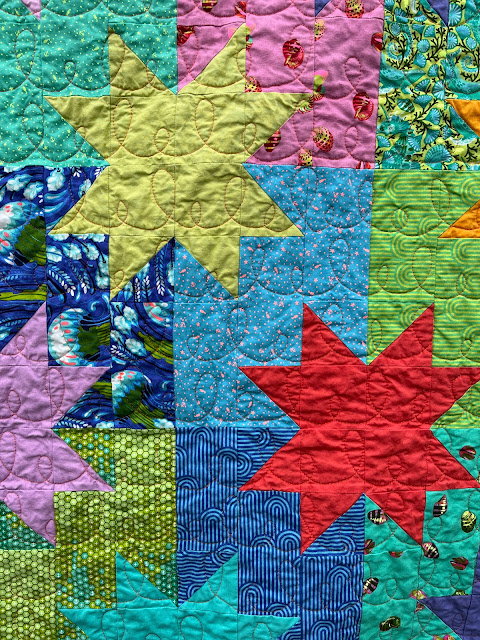
For the quilting, I decided to try a new-to-me design on my domestic machine, making short and tall loops across the quilt horizontally and using the blocks as my guide. I used bright orange thread, again keeping with the colorful theme. It shows up in some places more than others, but any thread was going to do that. So why not make it orange!
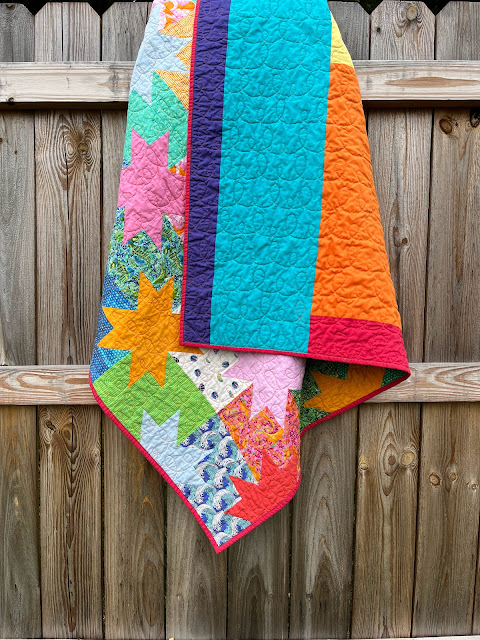
The binding was also made using solid scraps. I couldn't resist taking more photos than usual of this burst of color on my backyard fence.
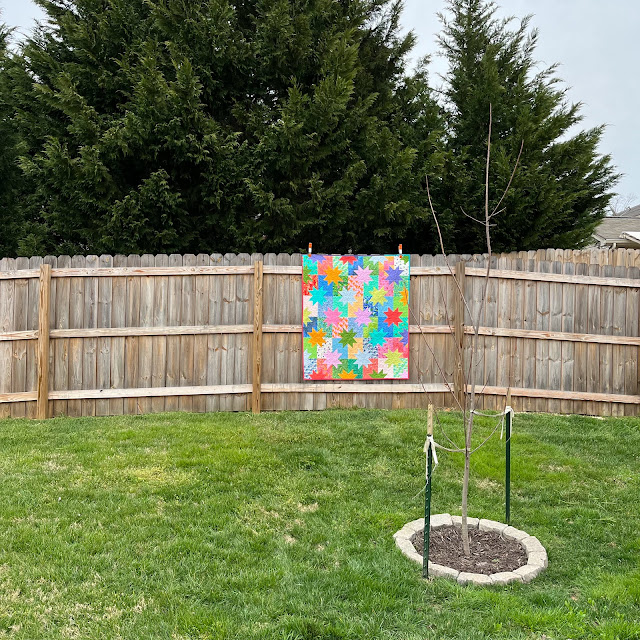
(That maple tree started as a seed that landed in a potted plant on my parents' deck a few years ago. They let it grow there until it was finally big enough for its own pot, and after a few bigger pots, it finally made its way into my yard.)
No comments:
Post a Comment